This year for my birthday, I wanted a real birthday cake. In previous years, my birthday “dessert” would often be whatever we were in the mood for – Texas Sheet Cake or Blueberry Tarts, or if we had enough time, a Pavlova. But this year I wanted a more traditional birthday cake – I wanted a vanilla layer cake.
Now, there is nothing plain about vanilla cake. When done right, it features a delicate vanilla flavour, along with the perfect balance of butter and sweetness; and the moist, velvety crumb will simply melt in your mouth.
But what makes a great vanilla cake? Is it the type of vanilla? Is it the amount of butter? Should you use buttermilk or sour cream or just whole milk?
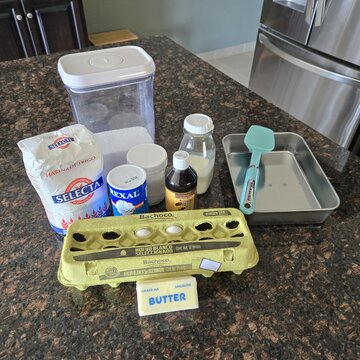
Since we did not already have a “tried and true” vanilla cake recipe in our repertoire, we needed to find out. So, we grabbed our measuring cups and cake pans, set up the stand mixer, and prepared to test three different vanilla cake recipes.
The Plan
We set out to bake these cakes on back-to-back days. Baking them all in one day would be way too much, as it’s still summer here and we can only have the oven on for so long without dying from the heat.
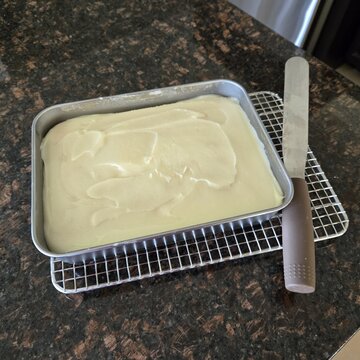
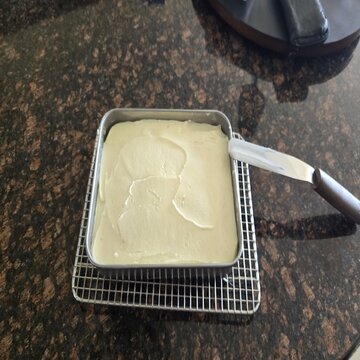
We then scaled each recipe back from being enough for two 8-inch round pans to a single 9×6-inch rectangle pan, so we wouldn’t feel compelled to eat three two-layer cakes in one weekend.
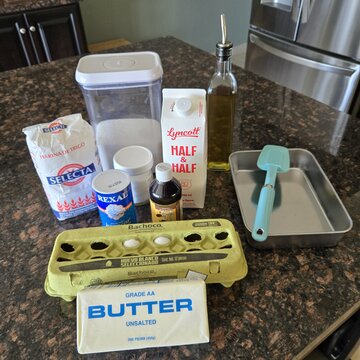
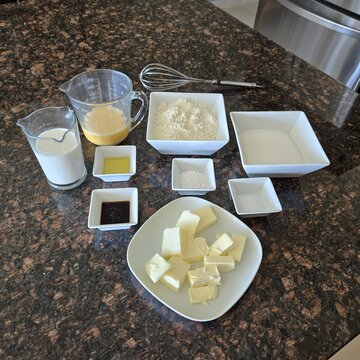
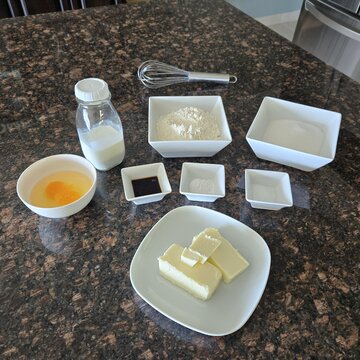
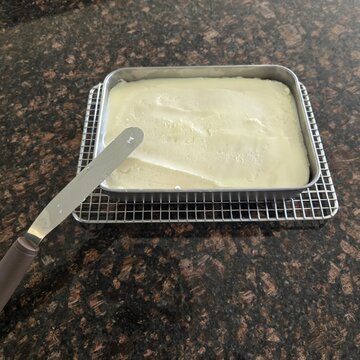
To be as accurate as possible, we weighed all the critical ingredients, made sure all ingredients were at room temperature, and frosted each cake with the same basic vanilla frosting (powdered sugar, butter, cream) for ease and consistency.
And finally, we tasted each cake at least three times. We tried a few bites as soon as each cake was frosted, then cut a slice and tasted each again after they had thoroughly chilled, and once all the cakes were ready, we did a side-by-side tasting at the end.
Cake One…
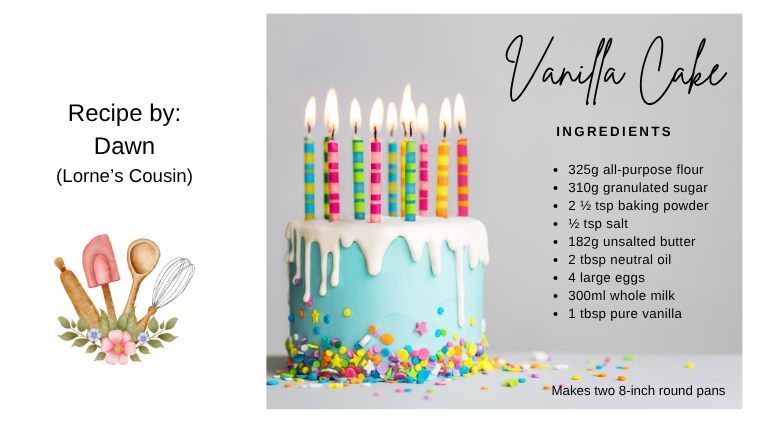
To begin, we knew we just had to include a recipe from Lorne’s cousin Dawn. We had the privilege of tasting one of Dawn’s cakes at a family gathering a few years ago, and to this day we still talk about how much we enjoyed that cake. It had an unbelievable taste and texture, different than anything we had ever baked.
This cake recipe of hers uses the “Reverse Creaming” method. This method involves mixing softened butter into the dry ingredients first (like making biscuits or pie dough), creating a crumbly texture, then the liquid ingredients are added to form a smooth batter. This method coats the flour particles with fat, which inhibits gluten development and results in a cake that is more tender, has fewer air bubbles and a flatter top.
Cake One Tasting Notes:
– very moist
– velvety crumb
– melts in your mouth
– big butter flavour
Cake Two…

The second recipe is from Preppy Kitchen. I saw someone on YouTube make this cake for her son’s birthday celebration and they highly recommended it, so we decided to include it. The description reads “This classic cake is flavourful and has a tender, moist crumb. It’s so light, fluffy, and easy to make that you’ll never go back to box mix”
This cake recipe uses the “Standard Creaming” method, which starts by beating softened butter and sugar until light and fluffy, which incorporates air for a light texture. Then eggs are added one at a time, followed by dry ingredients alternating with the liquid ingredients, mixing until just combined to avoid overworking the gluten.
Cake Two Tasting notes:
– soft and very fluffy
– not terribly moist
– crumbled easily
– great balanced flavour
Cake Three…
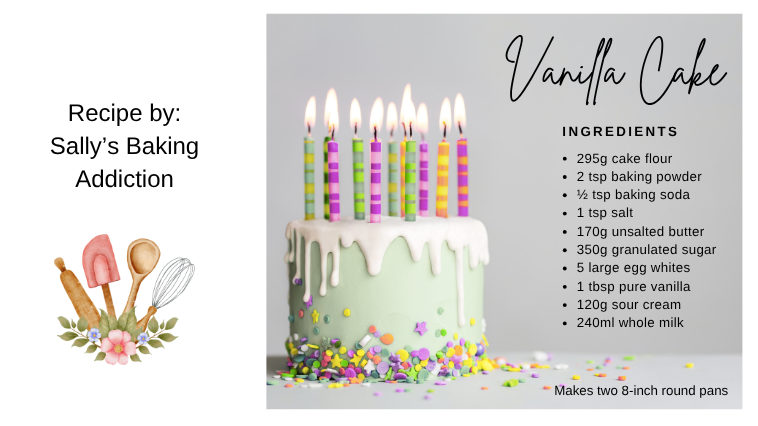
The third recipe is from Sally’s Baking Addiction, which I stumbled upon while searching for cake recipes that would fit my 6-inch cake pans. The description reads “With its outstanding vanilla flavour, and pillowy soft crumb, this is truly the best vanilla cake I’ve ever had.” This cake also uses the “Standard Creaming” method.

Change of plans – after carefully reviewing the description and ingredients of cake three, we determined it would most likely yield the same texture as cake two, which we did not like very much. So instead, we decided to try something different.
Since we liked the flavour of cake two, we decided to remake cake two, but this time we would use the reverse creaming method to see if we could change the texture.
Revised Cake Two Tasting notes:
– very moist
– velvety crumb
– melts in your mouth
– same balanced flavour
The Taste Test
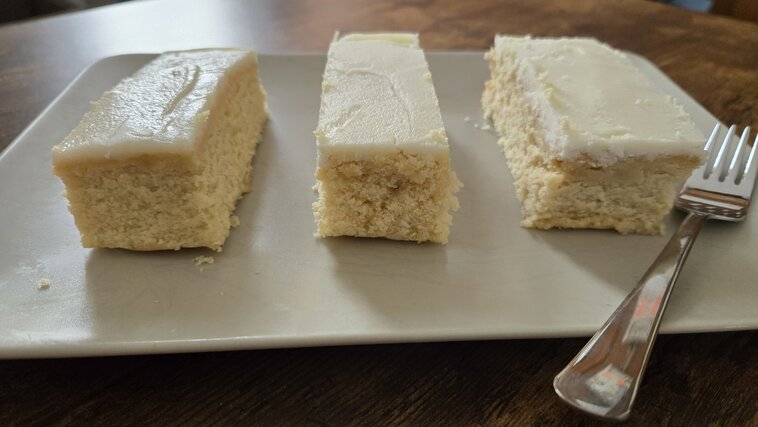
Finally, after all the cakes had been prepared and chilled in the fridge, the time had come to do the big taste test. We cut a slice of each cake and placed them side by side on the plate. We then went back and forth tasting each cake, noting the taste and texture of each one individually and comparing all three to each other.
After tasting each of the cakes with the vanilla frosting, we also tried each with a little raspberry jam (which would make a great filling between layers) and some whipped cream.
Cake One was still very moist even after being in the fridge for three days. It had a big butter flavour which we thought was too much for this vanilla frosting but quickly realized a chocolate frosting would perfectly accent the butter flavour of this cake. However, this cake was amazing with raspberry jam and whipped cream, and we were surprised that the jam softened the buttery flavour of this cake, in a good way.
Cake Two was still fluffy but even more crumbly as it seemed to have dried out a bit from being in the fridge for two days. The flavour was still balanced and worked great with this vanilla frosting. We should note that this cake was just too crumbly to spread any jam on it.
Revised Cake Two was very moist and melted in our mouth. The flavour was very balanced and, like cake two, it worked great with this vanilla frosting. This cake was also amazing with raspberry jam which seemed to enhance the flavour of this cake.
And the winner is….
As it turns out, the winner was not a specific cake, but rather a creaming method!
Reverse Creaming results in cakes that are moist, with a velvety texture and studier structure. Both cake one and revised cake two had an amazing rich flavour and very moist, slightly dense texture. Both are winners.
Standard Creaming results in cakes that are light, airy and have a fluffy texture with significant volume. Although cake two had a great flavour, the light, airy texture was not our preference, so cake two was simply eliminated.
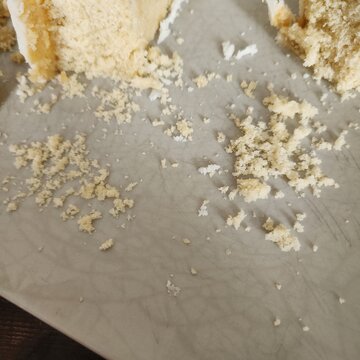
Cake Two crumb comparison
Left – standard creaming
Right – reverse creaming.
It was amazing to see how using the exact same ingredients, but changing the creaming method could result in cake with a much larger, moist crumb.
Both of the cake recipes that we made using the reverse creaming method have a lot of potential to be amazing celebration cakes. And being a vanilla cake, they can be kept simple with a vanilla or chocolate frosting or dressed up with browned butter or salted-caramel frosting or even become a showstopper like a Chantilly Cake with a creamy mascarpone-based frosting.
Mmmmm…. So many possibilities now!
ps… Don’t forget to check out the latest Snippets!

So cool
Well described and documenting the process and the comparison
Send me the recipe of the winner #1
Let me try it
The video #1 is the best because as it’s the only video in which Lorne is really into licking the spoon batter
Its like what we do when mom bakes in the kitchen lol
Great sharing
🎂 👍 😋
I loved this! You’re better than most cooking shows I watch. Now I’m going to have to try your method of reverse creaming.